Register a proximity card for Pharos Secure Release
Print users can release documents from a secure printer by swiping a registered proximity card.
Register a proximity card
- Walk up to any secure printer to register your proximity card.
- Swipe your card. The screen displayed will vary based on how Secure Release is configured in your system. Enter your credentials to complete registration.
- OpenID with Passcode enabled - Enter your system generated passcode.
- Email Auth - Enter the email and PIN associated with your registered email address.
- Active Directory - Enter your Active Directory Username and Password.
Register a proximity card (with a printed registration code)
Note: This workflow is available only for sites with SR25
Note: The Register a Proximity Card is only available when the External Card Reader and Enable Proximity Card Registration options are enabled in the Secure > Settings > Secure Release Settings tab.
When you swipe your proximity card at a secure printer (with SR25
- Walk up to any secure printer to activate your proximity card. A document showing a one-time registration code is printed.
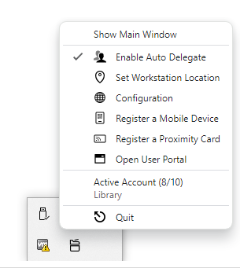
- Go to your workstation and right-click on the Pharos Print desktop app icon and then select the Register a Proximity Card option.
-
In the dialog box that opens, enter the registration code shown on the printout.

Your proximity card is now registered. You can now release your documents to any secure printer in the organization.